I used to have naturally golden brown hair when I was a kid. No kidding. I even remember being called by our high school head because she thought I had it dyed. Those were the days when Catholic schools strictly prohibit students to color their hair. However, as I grew older my hair started to turn dark brown. I missed my hair's original color, so when I graduated in college, I decided to dye it for the first time.
Since then, I have been changing the color of my hair on my own. Why I've never tried having it done in salons? Maybe because I love how my hair color product suits me well, and not to mention, it's cheaper. It is also very easy to use because the way you apply it is just similar to shampooing your hair.
I have seen a similar product a long time ago in Crissey's blog, but it was from a different brand. It was not available in the country yet, so she had it shipped straight from Korea. Thus, when Etude House opened and I saw that they had the same product, I purchased one right away. The first shade from Bubble Hair Color that touched my hair was Sweet Orange. I've also tried their Mocha Pink and Wine Red by the way. LOL.
I guess it had been a year since the last time I dyed my hair, hence the dark strands are already noticeable. I finally decided it is time to retouch its color, especially the roots. So, I went to their branch in Eastwood and bought again the first color I fell in love with.
Applying it is really quick and simple. You will only need an hour to achieve the color you desire. Now, let's see first what is inside the box.
Price is at P428
1. Box (it has simple English instructions on the side)
2. Hair color solution
3. Hair color bottle (it also has a clear liquid inside)
4. Instruction booklet
5. Gloves and plastic for protection (to avoid the color from staining your clothes)
6. Treatment (applied like a hair conditioner)
Above is the instruction booklet written in Korean. Sadly, there is no English translation, but the instructional drawings might be helpful. If you notice, the girl in the drawing is just massaging her hair like what we usually do when we shampoo.
This is important! The difference between applying the dye and the actual shampooing is that the former needs to be applied while your hair is dry. Never wet your hair before using it.
Another instructional drawing on the right side of the box.
Number 1 means everything starts with this product. Ready?
Step 1: Pour hair color solution number 1 into the bottle marked with number 2.
Step 2: Close the bottle's lid and mix the two solutions in the exact manner as shown above. Do this around 5-7 times. Do not shake!
Gloves and plastic covering for protection
Step 3: Wear your gloves because it can get a bit messy. Also, wear the plastic protection around your shoulders.
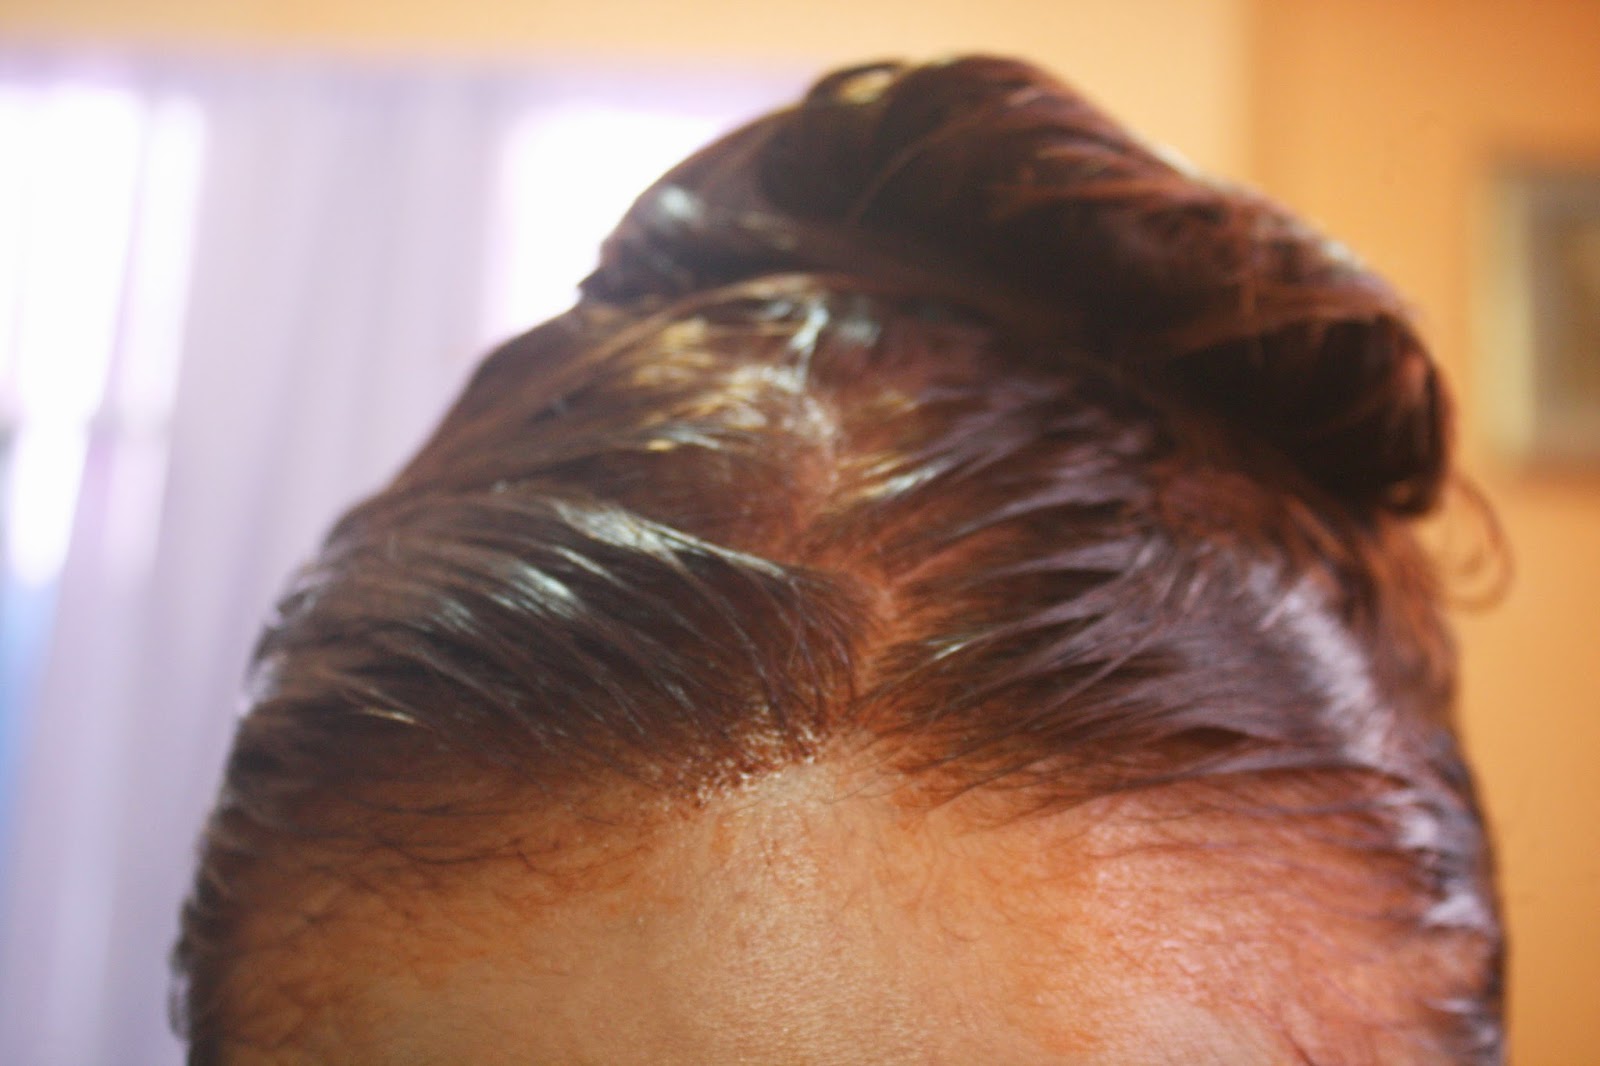
Step 4: Your Bubble Hair Color must look like this. Color bubble is dependent on the product. For Sweet Orange, it really is purple. LOL! Don't worry, it changes the moment it is already applied on your hair. See photo below.
Step 5: After applying it evenly, let it settle there for 30 minutes before rinsing. Remember, applying it is just like shampooing your hair. Ooops! Have I been saying that for the nth time? Hihi!
Step 6: After 30 minutes, wash your hair using the silky perfumed treatment. This time, use it like a conditioner.
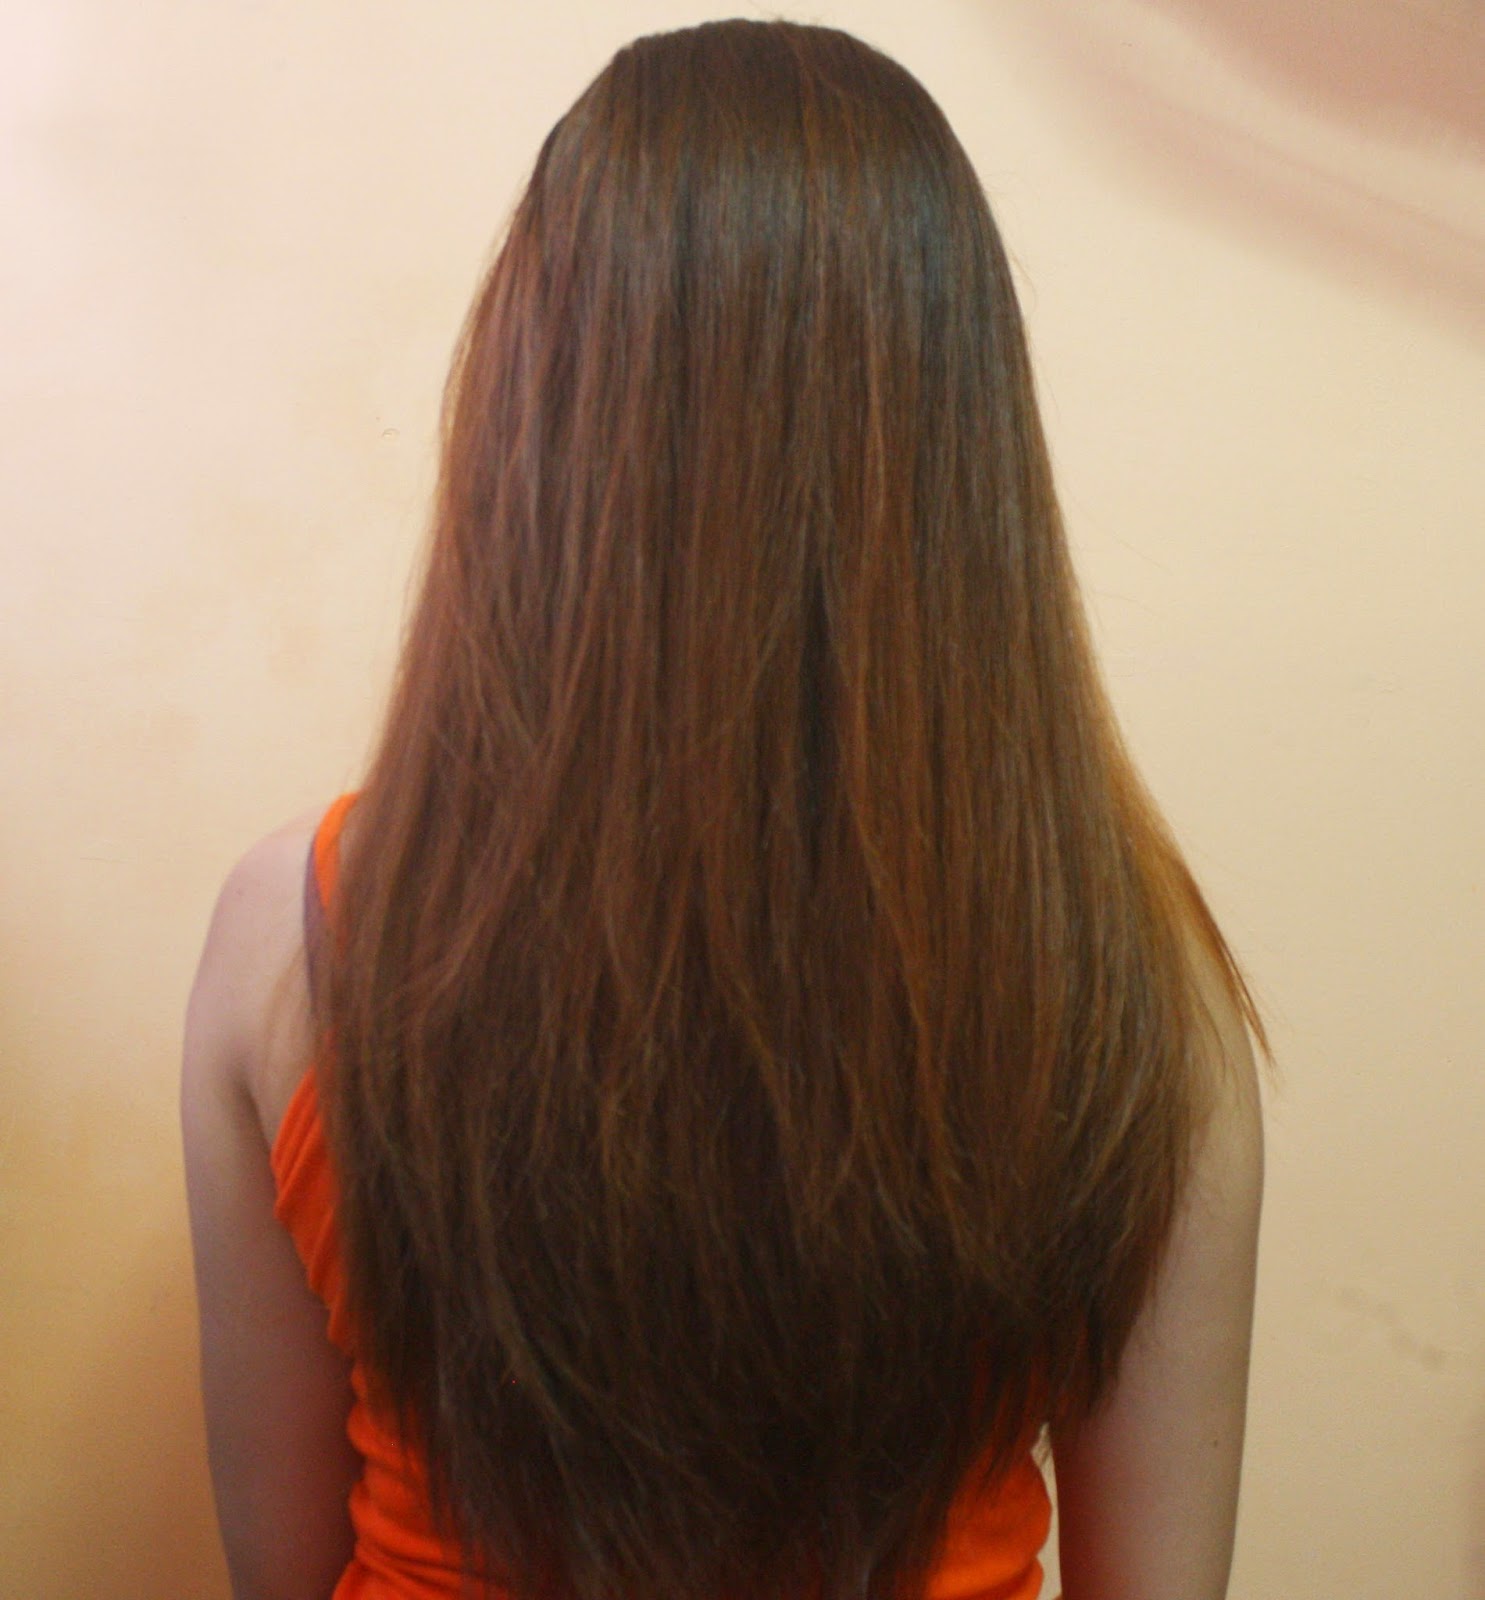
And voila! This is how my hair looks after the whole process. For the length of my hair, one box is enough. If you have longer and thicker hair, I suggest you buy two boxes for an evenly distributed color.
Thanks for reading! Tell me if you tried it, too.
By the way, have a great long weekend ahead, you guys! I'm sure I am going to enjoy mine. I can't wait to blog about it soon because it is time for another Travelogue! Woot!
By the way, have a great long weekend ahead, you guys! I'm sure I am going to enjoy mine. I can't wait to blog about it soon because it is time for another Travelogue! Woot!


No comments:
Post a Comment